
Health September 4, 2026
Vitiligo Camouflage: Best Cosmetic Options and Application Techniques
Imagine waking up, looking in the mirror, and seeing your skin exactly as you want it to look. For millions living with vitiligo, this isn't just a wish-it's a daily practice enabled by modern cosmetic camouflage techniques. You don't have to choose between medical treatment and feeling confident in public. In fact, most dermatologists now recommend combining both. The goal isn't to hide who you are, but to remove the visual barrier that often stops people from engaging fully in life.
You might be wondering where to start. Do you need expensive clinics? Will the makeup rub off on your shirt? Can you get permanent results? This guide breaks down the real options available today, from temporary creams to semi-permanent tattooing, so you can decide what fits your lifestyle, budget, and skin stability.
Understanding the Two Paths: Temporary vs. Permanent
Cosmetic solutions for vitiligo generally fall into two buckets: temporary camouflage that you apply daily, and permanent (or semi-permanent) camouflage via micropigmentation. Neither is "better" universally; they serve different needs.
Temporary camouflage involves specialized foundations, concealers, and self-tanners. It’s flexible. If your vitiligo changes shape or size next month, you can adjust your application immediately. It requires time-usually 10 to 15 minutes each morning-but offers zero commitment. According to the Vitiligo Society, about 30-40% of patients use these products regularly because they provide immediate control over appearance.
Permanent camouflage, technically known as micropigmentation, involves implanting pigment into the dermis. Think of it like a very precise, flesh-toned tattoo. It lasts for years, not hours. However, it’s not for everyone. Your vitiligo must be stable-meaning no new patches or expansion-for at least 12 months. If your condition is active, the tattooed area might develop a halo effect as the surrounding skin loses more pigment, creating a mismatch. Dr. Davin Lim, a leading dermatologist, notes that while this method solves the daily application hassle, it requires significant upfront cost and professional skill.
The Right Products: Beyond Regular Makeup
Grabbing any foundation from the drugstore usually leads to frustration. Standard makeup lacks the pigment density needed to cover depigmented skin effectively. Specialized camouflage products contain up to 25% more pigment than regular foundations. They are formulated to be transfer-resistant and water-resistant, which is crucial if you’re worried about smudging onto collars or hands.
| Product Type | Longevity | Best For | Key Considerations |
|---|---|---|---|
| Water-Based Foundations (e.g., Dermablend) |
6-14 hours | Daily wear, face, neck | Requires setting powder; easy to remove |
| Anhydrous Creams (e.g., Dermacolour) |
12+ hours | High-friction areas, waterproof needs | Harder to remove; needs specific cleanser |
| Self-Tanners (DHA-based) |
3-7 days | Large body areas, gradual color build-up | Risk of uneven orange tones; fades slowly |
| Micropigmentation | Years | Stable patches on lips, eyebrows, scars | Expensive; requires stable vitiligo |
When choosing a product, look for terms like "high coverage," "transfer-proof," and "SPF." SPF is non-negotiable. Depigmented skin burns faster than pigmented skin. Many camouflage foundations include SPF 2-3, but you should still apply a dedicated sunscreen underneath. Brands like Dermablend, founded in 1981 and now part of L'Oréal, set the standard here. Their products are designed specifically for sensitive, compromised skin.
Mastering the Application Technique
Applying camouflage isn't the same as applying regular makeup. If you just swipe it on, it will look cakey or obvious. The secret lies in layering and setting.
- Prep the Skin: Start with clean, moisturized skin. Let the moisturizer absorb completely. Applying foundation to oily or damp skin causes slipping.
- Color Matching: Match your foundation to your normal skin tone, not the white patch. Test shades under natural light, not just store lighting. A common mistake is picking a shade too dark, which makes the patch stand out even more.
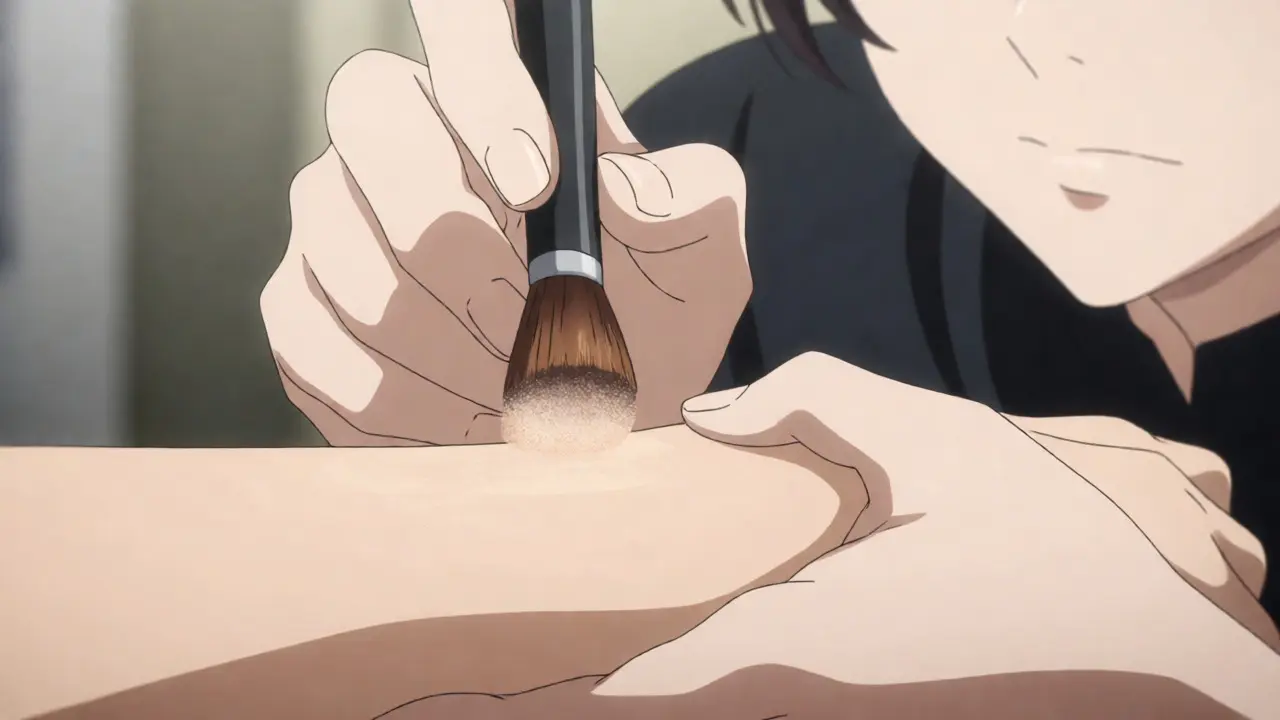
- Apply Thinly: Use a stippling brush or sponge. Dab the product onto the patch rather than rubbing it. Build coverage in thin layers. One thick layer looks fake; three thin layers look natural.
- Set It: This step is critical. Use a translucent setting powder. Press it gently into the skin with a puff. Then, wait 2-3 minutes before sweeping away the excess. This "baking" process locks the pigment in place.
- Lock with Spray: Finish with a setting spray. This creates a film that resists sweat and friction.
For anhydrous (water-free) formulas, the technique differs slightly. These waxy creams need to be warmed between your fingers before application. They take longer to set-about 3 to 5 minutes-so plan accordingly. Dr. Madhulika Upadhyay emphasizes that proper training in these techniques can improve a patient’s quality of life scores by up to 35%. It’s worth taking a class or watching tutorials from certified camouflage specialists.
Micropigmentation: Is It Right for You?
If you hate the daily routine, micropigmentation might appeal to you. This procedure uses inert iron oxides implanted into the dermis. Unlike traditional tattoos, the pigment particles are smaller (around 6 microns) and designed to fade naturally over time, allowing for adjustments as your skin ages.
This method shines on small, stubborn areas like the lips, eyebrows, or fingertips. Hands and feet are tricky because the skin there is thicker and subject to constant friction, causing pigment to fade 40% faster than on the face. NUE Conceal, a major provider, reports a 74% satisfaction rate for facial treatments but only 48% for hand treatments due to frequent touch-ups.
Cost is a major factor. Sessions typically range from $300 to $800, and you’ll likely need 2-3 sessions spaced 6-8 weeks apart. It’s an investment, but for many, the freedom from daily makeup outweighs the price tag. Just remember: never undergo this procedure if your vitiligo is spreading. Stability is key.

Troubleshooting Common Issues
Even with the best products, things go wrong. Here’s how to fix the most common complaints.
- It looks gray or ashy: Your foundation is too light or has the wrong undertone. Try mixing in a drop of liquid bronzer or using a warmer shade.
- It transfers onto clothes: You didn’t set it enough. Add more powder and use a stronger setting spray. Avoid touching the area until it’s fully dry.
- It feels heavy or clogs pores: You applied too much product. Switch to a lighter, water-based formula and ensure you’re removing it thoroughly at night with an oil-based cleanser.
- Uneven fading with self-tanner: Exfoliate well before application. Apply tanner evenly with a mitt, blending edges carefully. Reapply every few days to maintain consistency.
Removal is another pain point. Waterproof formulas don’t come off with soap and water. You need an oil-based remover or a dual-phase cleanser. Rubbing aggressively irritates the skin, which can trigger the Koebner phenomenon (where trauma causes new vitiligo patches). Be gentle.
The Psychological Impact
Don’t underestimate the mental health benefits. Studies show that 68% of patients using camouflage report reduced anxiety in social situations. It’s not about vanity; it’s about removing a source of stress. When you aren’t worrying about whether your makeup has rubbed off, you’re more present in conversations and activities.
However, camouflage shouldn’t replace medical treatment. It works best alongside therapies like phototherapy or topical steroids. Dr. Nithya Krishnaswamy from the Indian Journal of Dermatology suggests viewing camouflage as a complementary tool, not a cure. It buys you confidence while your medical regimen works its magic.
How long does vitiligo camouflage last?
Temporary camouflage products like high-pigment foundations typically last 6 to 14 hours depending on the formula and activity level. Water-resistant formulas can survive swimming or sweating better than standard makeup. Self-tanners last 3 to 7 days as they stain the outer layer of skin. Micropigmentation lasts several years but may require touch-ups every 2-3 years.
Can I swim with vitiligo camouflage?
Yes, but you need the right product. Standard foundations wash off quickly. Look for labels stating "waterproof," "swim-proof," or "anhydrous." Anhydrous cream formulations are generally the most resistant to water. Always test a small area first to see how it reacts to chlorine or salt water.
Is micropigmentation painful?
Most patients describe it as mildly uncomfortable, similar to getting a tattoo. Topical numbing creams are usually applied before the procedure to minimize sensation. Areas with thinner skin, like the lips, may feel more sensitive than thicker skin areas like the arms.
What is the best brand for vitiligo camouflage?
There is no single "best" brand, but Dermablend and Dermacolour are industry leaders for temporary coverage. Dermablend is widely available and known for its transfer resistance. Dermacolour offers highly pigmented anhydrous creams ideal for severe cases. For self-tanning, brands like St. Tropez offer gradual tanners that allow for controlled color building.
Will camouflage make my vitiligo worse?
No, cosmetic camouflage itself does not worsen vitiligo. However, harsh removal methods or irritating ingredients can cause inflammation, which might trigger new patches in susceptible individuals (Koebner phenomenon). Always use gentle, fragrance-free removers and patch-test new products.